Now there are some details to recognize in this process. One point to keep in mind is that single-sheathed cars require more work, both to get wet everywhere and also to distribute pigment evenly, because every panel between posts and diagonals has to be treated as a kind of independent region. Here I am wetting such a car.

Note here the palette in the foreground, a small dish of wet water at right, and at left, a coffee cup with clean water in it.
Another point: the low surface tension of the wet water will hold the water + pigment mixture as a continuous film or web from grab irons and ladder rungs to the car side, and that web will dry that way (not good). I simply blow gently to break that film and push the water + pigment away. This photo shows me blowing through the grab irons on that same car seen above.

Meanwhile, the same process as described in Part 2, the stroking upward of any water + pigment accumulated at the bottom of the car side, continues with a single-sheathed car as it would for any other car.

The next thing to be watching for is the emergence of dry areas. As I mentioned in Part 1 in describing the roof weathering, dry areas require caution — if you continue the process you are using on the wet areas, into a dry area, you will immediately find different behavior of the pigment. What is happening is that suddenly you are no longer working with a wash, you are beginning to paint on the dry area, using whatever pigment happens to be on the brush. The effects can be interesting, or bad, and if bad, just use some clean water to rinse off the offending area and work as before with the “wet” technique.
Here is the Northern Pacific box car shown in Part 2, just starting to dry at the top of the sides (there is still pigment to be dealt with at the bottom of the sides). As I said, you have to stay in the damp/wet areas for consistency,or else stroke upward to keep re-wetting the dry areas with the water + pigment.
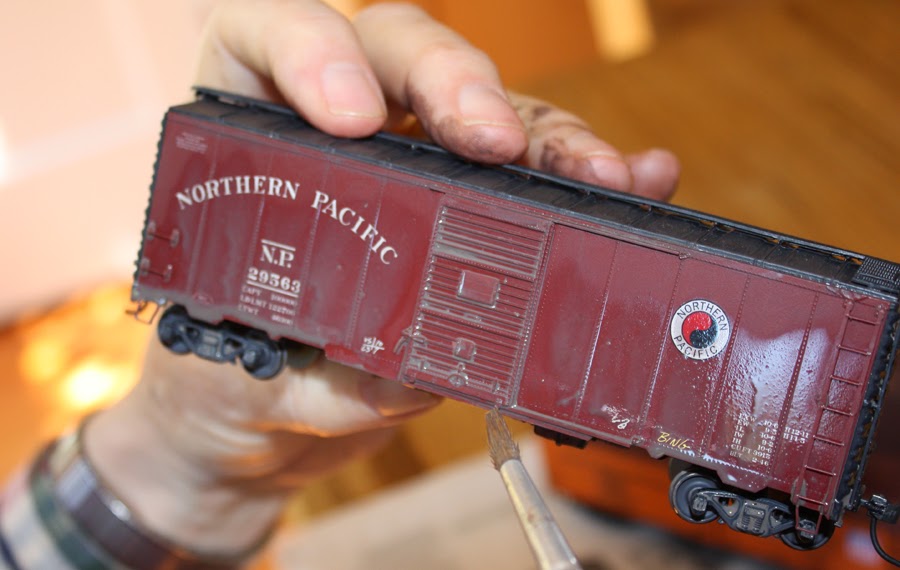
When the car side is very nearly dry, it will look like this next photo. You aren’t done, but it is getting close. Note I am making sure the pigment is evenly distributed on the trucks.

At this point, I carefully check every place there may be extra water accumulated. That’s because accumulations often result in a little ring of pigment when it dries, if not corrected. This may be at door latches or hinges (on refrigerator cars), or at the attachments of grab irons. Again, the brush is an effective tool to wick up these undesirable accumulations. As you experiment, you will learn what I mean.
In the next post I will cover what is needed to finish up the car weathering by this method.
Tony Thompson
No comments:
Post a Comment