Before I begin this post, let me address an interesting question I received, that deserves a response. How many of the issues I am raising with kits for this car, would be relevant in a ready-to-run version (currently about all there is)? Obviously the issue of inadequate weight is the same — and has the same solutions. Whether one wishes to address the various detail questions, especially brake gear, is an individual choice, but the same changes certainly could be made to the RTR models.
An important point in any freight car assembly, including these Red Caboose flat cars, is how you intend to install trucks and couplers. I really prefer machine screws for truck attachment, instead of the self-tapping screws in the kit. and accordingly tapped the truck screw hole 2-56, using a “bottoming tap” to get threads nearly to the bottom of the hole. I also dislike (based on experience) coupler boxes with press-fit lids, as this kit provides. I used the kit’s self-tapping screws for this job, after drilling out the lids, but this is not a great solution. (Whenever I do find myself having to use a press-fit lid, I generally use a Kadee whisker coupler.) Here you can see the 3/16-inch brass 2-56 screws in the trucks.
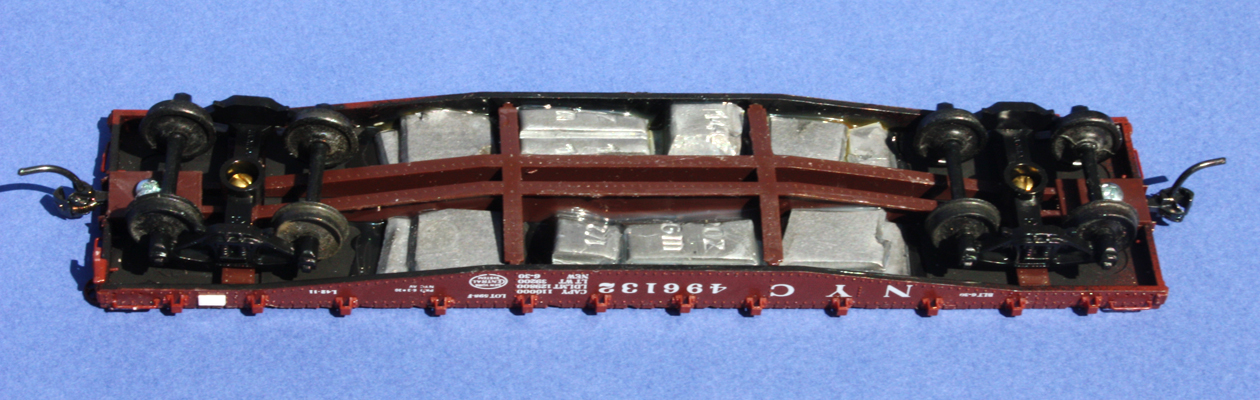
Personally, I do not run plastic wheels on my layout, so the wheelsets have been changed out to Kadee. These are not great fits with the kit truck frames and may be replaced with Reboxx.
One point I should make before continuing is that Red Caboose, like so many manufacturers, has not only decorated this kit for actual owners of the USRA 42-foot design, but has added a whole bunch of popular railroads which never owned this car. That’s okay, it is just the reality of commercial products, but one should always check appropriate sources to know whether a particular railroad really did buy these cars. The best source I know of is a comprehensive article by Richard Hendrickson and published in Railmodel Journal (“USRA-Design 42-foot Flat Cars,” Vol. 8, No. 8, pp. 53–59, January 1997). The article includes an extensive roster of roads that owned these cars, as well as cars very close to the USRA design.
One railroad for which Red Caboose decorated kits is Southern Pacific. But SP most certainly did not own any cars close to this USRA design. Accordingly any of the Red Caboose SP-decorated kits is just plain bogus. I bought one, mainly to save someone else from perhaps believing it was an accurate kit, and I will be repainting part or all of the sides. Here is how it looks, in stock form:

As I said, not close at all. And this car number, 42718, would actually be a member of Class F-50-9, a design which had straight side sills:

This actual car class is very accurately modeled by the Owl Mountain kit, cited in the first post in this thread. Obviously it is not remotely like the Red Caboose model. Well, that’s a little strong. After all, it is about 40 feet long.
The Red Caboose car is also lettered as Class F-50-4, of class of not at all the same appearance, and an entirely different number series to boot. So this lettering is totally imaginary. Like I said, understandable as a commercial strategy, but no connection to prototype modeling.
I simply painted out the Southern Pacific road name and number, and other SP specifics, such as the class identification. Then, as I mentioned in Part 2, I chose to letter the car for Chicago & North Western, a road that owned 1200 or so of these cars. I had some old Champ decal road name sets on hand, and chose a car number from the 1925-built series of 500 CNW cars, numbers 41501–42499 (odd numbers only). Here’s my ex-SP model, prior to weathering the deck.

Note that I have added a brass (Precision Scale) brake wheel, soldered to brass wire, to make a durable vertical-staff handbrake.
Last came weathering. I have expounded elsewhere about flat car deck weathering, and that discussion will provide background if you like (that post is at: http://modelingthesp.blogspot.com/2011/05/weathering-flat-car-decks.html ). I used the same method here. One point to recognize: many prototype photos show that although flat car decks were not painted, the deck edges often did get painted when cars were repainted. So feel free to leave the kit paint on the plank ends above the car side. The two cars with decks weathered are shown below.

At this point, reweigh and repack data need to be added, but there is nothing noteworthy about those well-documented details, so I will leave the project here. I now have the two additional flat cars I wanted, to diversify further my fleet of flat cars.
Tony Thompson
No comments:
Post a Comment