Most recently, in my last operating session a month or so ago, I had a different Peco turnout go bad, largely from the gauge getting tight. This was a surprise, as the turnout was installed in early 2015 and has performed flawlessly ever since. But in operating a locomotive and cars in all areas that have ever given any problems, I started getting derailments on this turnout. I usually do this testing before an operating session, but in this area, in the town of Santa Rosalia on my layout, I was doing it the day before the session, since I had not anticipated a problem.
I tried to file the rail within the turnout, to widen the gauge that had narrowed. But I quickly discovered that the gauge had only narrowed in one part of the turnout and was, if anything, wide in the remainder of the frog area. I attempted to nudge the offending rail into position and add more spikes to hold it, but this was not working very well, With the operating session imminent, I had only one choice, and that was to make one side of the turnout “out of service.” I did so with the notice below.
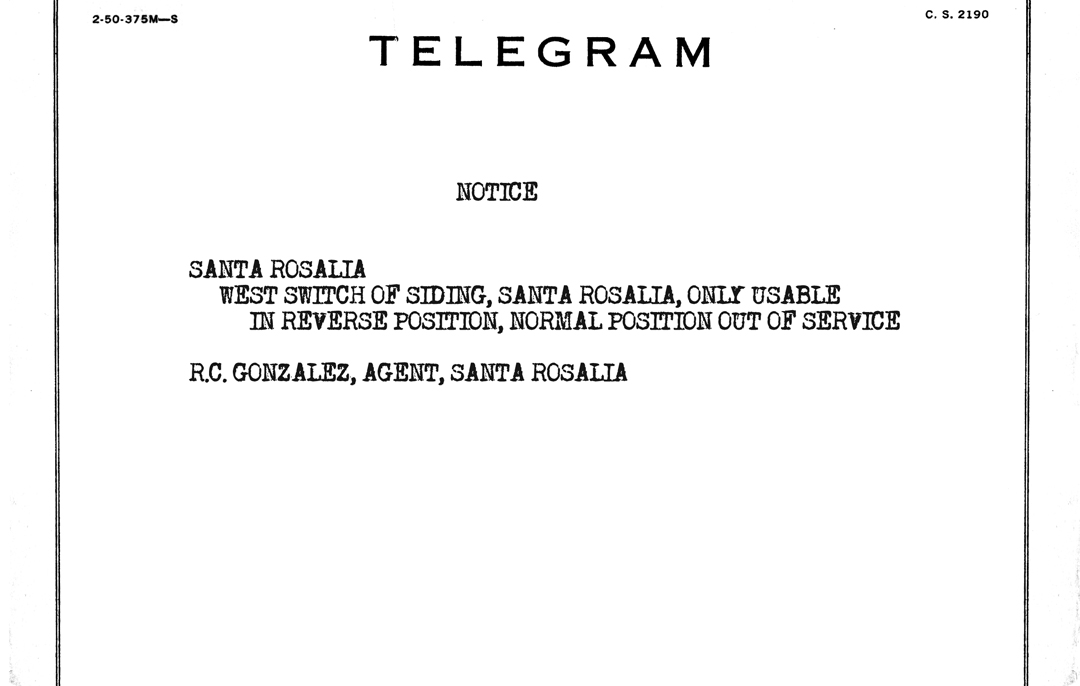
This is my usual form of my messages from a station agent to the operating crew, using the SP company telegram blank (since agent’s desks in the 1950s had heaps of pads of these telegram blanks, and agents often used them for notes).
As I reported for that particular operating session, everything planned worked out all right (my post describing that op session can be found at: http://modelingthesp.blogspot.com/2018/09/operating-with-more-features.html ), and crews switching at Santa Rosalia simply had to plan ahead to position cars in the train they took there from Ballard, as the switch being out of service in the normal position meant that there was no longer a run-around available at Santa Rosalia.
But of course this was only a temporary solution. The switch had to be replaced. I did communicate with the Technical Advice people at Peco, who are always responsive, as to whether I might have done something wrong in installation, to cause the track gauge to change. They replied that they did not think so, and asked me to return the offending turnout to them for examination. I went ahead and mailed it to them. Meanwhile, I pulled out the turnout, as you see below. Luckily, only part of it was ballasted, making removal fairly easy.

The next step was to purchase a new switch. Although Peco might have replaced the switch, I decided not to wait for the outcome at Peco, and bought a new one. (Ultimately Peco did not offer to replace the switch.) There is inevitably a bit of jockeying to fit a new switch into existing trackwork, to make sure all the abutting tracks line up smoothly, and this took some time. But I finally got it into place.

This photo show the switch in place, though rail joiners are not yet soldered, nor is the feeder (blue wire, near right center of photo) attached yet. Obviously the rail will need to be painted also.
Once the turnout was in place, the rest of the installation was completed easily. All rail joiners that previously had been soldered were re-soldered, and the feeder was re-installed. Then I used Tamiya “Red Brown” (No. XF-64) to paint the rail sides. Here you see me in the process of painting.

The building at right is Pismo Marine Service, a ship chandler in my town of Santa Rosalia. It was described as part of another post about use of KingMill photographic flats (that post is at: https://modelingthesp.blogspot.com/2015/09/jupiter-pump-and-compressor.html ).
This problem has been solved, though it was more trouble to do than I expected. I have no idea what was the cause of this defect, but the important point is to fix it, not to diagnose it. I just hope it won’t recur. I really don’t like having to fix track that gave every indication for several years that it had been installed well in the first place!
Tony Thompson
No comments:
Post a Comment