In previous posts in this series, I have addressed a wide variety of Southern Pacific passenger cars, many of them head-end cars. (Previous posts are easily found by using “modeling SP passenger” as the search term in the search box at right.) Although some SP passenger cars may appear generic, in fact the great majority had individual characteristics, especially the Harriman-era heavyweight head-end cars.
In the present post, however, I want to turn to streamlined sleeping cars. This is a kind of follow-on to the extended description I published about heavyweight sleeping cars, in an article for Model Railroad Hobbyist (see a description at: https://modelingthesp.blogspot.com/2023/01/my-new-column-in-model-railroad-hobbyist.html ). That article focused on conversions of Rivarossi (or AHM) Pullman cars to floor plans other than the original 12-1 (12 sections, 1 drawing room).
The corresponding Rivarossi streamlined sleeping car represents one of the 10-6 floor plans (10 roomette-6 double bedrooms) for these cars. But there were a number of other floor plans widely used. As with other passenger car topics, one needs to learn what preferences and practices were followed by the railroad that is chosen for modeling. We SP fans have a great source: Volume 2 on sleeping cars, from the five-volume series of books entitled Southern Pacific Passenger Cars and published by the SP Historical & Technical Society.
Two distinctive cars used by SP for years on the all-Pullman overnight Lark train were the 13 DB (13 double bedrooms) and 4-4-2 ( 4 double bedrooms, 4 compartments, 2 drawing rooms). Both have distinctive window patterns and are readily recognized, thus desirable for modeling. For example, below is a photo (Lawson K. Hill, San Francisco, 1953) of SP 9106, a 4-4-2.

This is the bedroom side of the car, and the distinctive pairs of small upper windows, one pair for each compartment, are evident. The two drawing rooms are the pairs of windows between the compartments, and the other windows are the double bedrooms. Note also the location of the remains of the original full skirts, below the compartments.
The 13 DB car has pairs of large windows on the bedroom side, and somewhat evenly spaced ones on the aisle side. But the aisle side also had some remnant skirting, as is shown below, in a photo at San Francisco circa 1955 (Don Munger collection). This photo and the one above, both showing cars in Lark service, are from the SPH&TS Volume 2 on sleeping cars.

To model the floor-plan cars just shown requires purchasing brass cars, or starting with some other car body and replacing the sides. Replacement could be done by scratchbuilding styrene car sides (actually not terribly difficult, since the car sides were entirely smooth). But an even simpler solution exists: brass replacement car sides.
Starting in 1978, Dennis C. Henry has operated a company called Brass Car Sides (you can visit their website for considerable information at: http://brasscarsides.com/ ). The coverage is most extensive for Great Northern, Northern Pacific and Milwaukee Road, but reasonably standard Pullman cars for many other railroads are available too. These are intended to be attached to some kind of core body.
As you see below, I purchased sides for the 13 DB (upper pair) and 4-4-2 cars (lower pair). The aisle side of the 13 DB car is the lower side of the pair, while for the 4-4-2 it is the upper side. You can observe that the remnant skirting on the brass sides matches what is shown above for the prototype 1950s Lark cars.

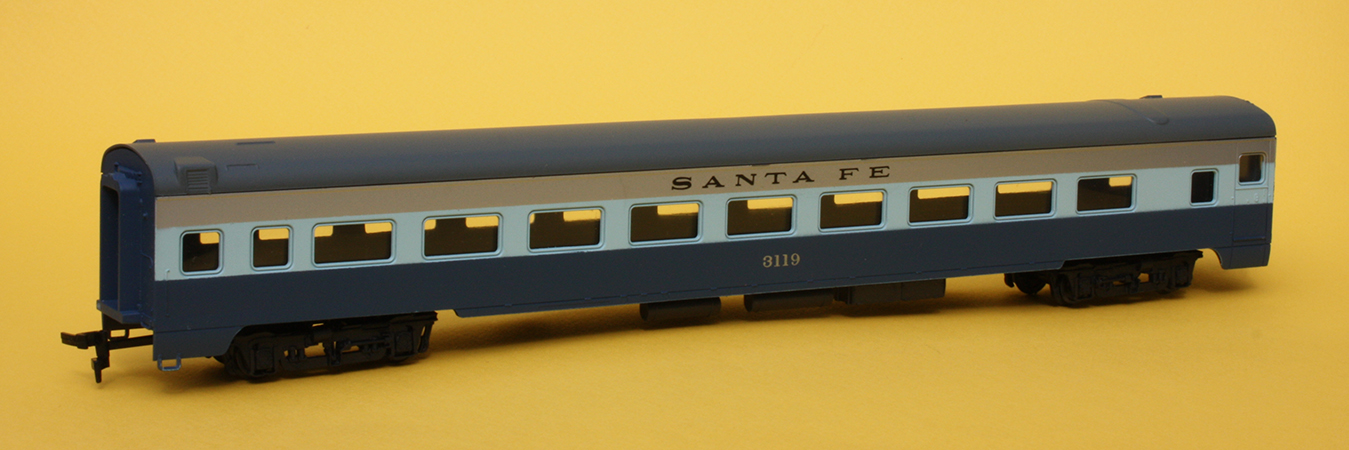
These particular sides are intended to be used with an Eastern Car Works “core body” kit, and are slightly too short for a Rivarossi body. However, there are easy solutions to this, which I will pursue since I have a stash of the Rivarossi streamlined cars. For example, here is the Rivarossi streamlined coach. This is one of the car bodies I will transform. Window arrangements here don’t matter — they will all be replaced!
For a good illustration of using these car sides to apply to a Rivarossi core body, I recommend the article by Willard Harvey (Mainline Modeler, Volume 11, October 1990, pages 68–73). He did what I will do: simply remove any area of the window band that conflicts with the new sides. Remaining parts of the side provide a foundation to support the new sides. And one nice feature: since the new sides are thin, the window glazing can lie almost flush with the car side, as it should.
For more recent (and probably more accessible) articles, see the Brass Car Sides site. Among the write-ups there is this one, which I found interesting and informative: http://brasscarsides.com/photos/Jim%20Schwinkendorf/BCS%20Grove%20Car%207-4-20.pdf . Another quite informative article by Jeff Hanson is worth reading (see: http://brasscarsides.com/Construction%20methods%20for%20brass%20car.pdf ), but uses a Walthers car body to make a Budd car, so somewhat less relevant to my two projects.
I will continue with the model work in a future post.
Tony Thompson
No comments:
Post a Comment