But it is worth mentioning, for those with an inordinate fear of dry transfers (I’m just joking), that some of the lettering for these same reefers is also available in decal form from Jerry Glow. You can see his catalog at: http://home.comcast.net/~jerryglow/decals/full.html . You can scroll down the alphabetical listing to Armour, Swift, and Wilson. But I will repeat my comment from the previous post: if you proceed with care, dry transfers work every bit as well as decals — they are just applied differently.
The Cudahy and 1948 Swift cars already lettered were shown in the previous post, though in an unweathered condition. Here is the finished Cudahy car, spotted for unloading at the Peerless Foods wholesale grocery warehouse in Ballard, on my layout.

Also shown at its normal destination, Peerless Foods, is the 1948-scheme Swift car.

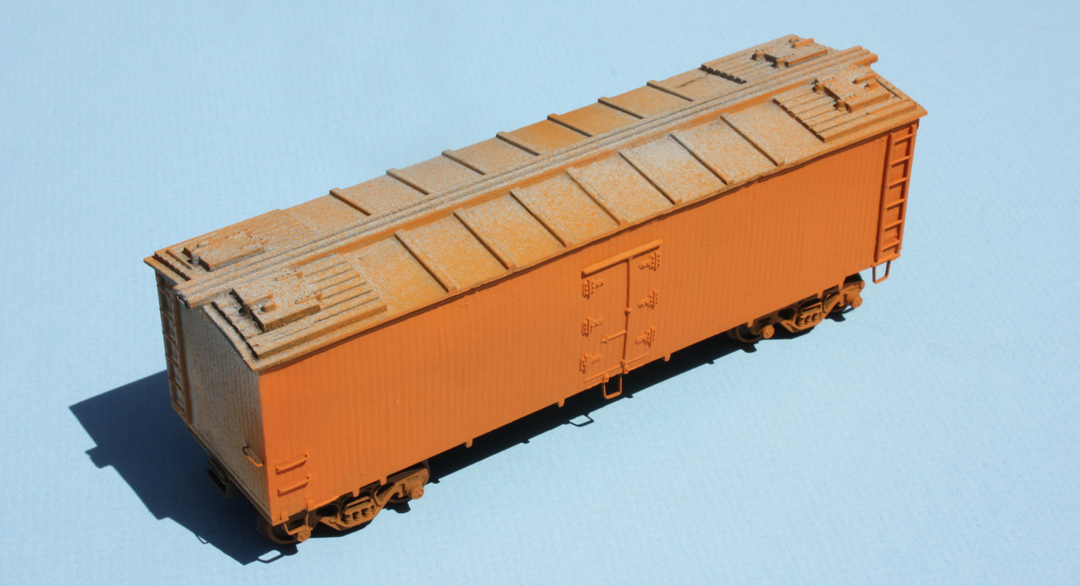
Previously I didn’t show the orange Wilson car, the sides of which I airbrushed Floquil Daylight Orange as a reasonable light orange, so here it is. The temporary trucks are a roller-bearing type, among my “spray booth” trucks.
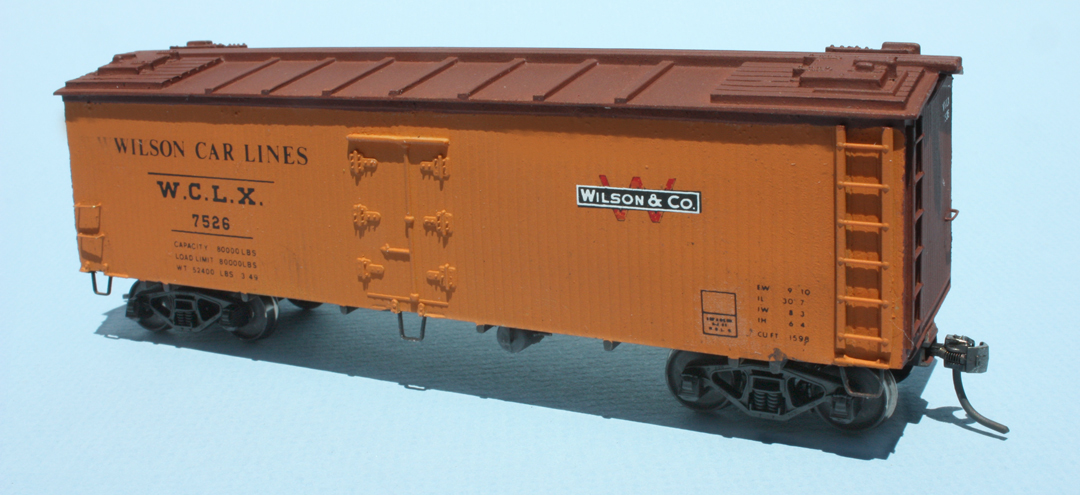
The next step was the application of boxcar red to the roof and ends, then arranging the lettering with the Clover House dry transfer set identified earlier, no. 9416-01. I applied my usual Kadee no. 58 couplers and, for this car, a pair of Tahoe Model Works Buckeye trucks, which have the sideframe shape visible in many photos of Wilson cars, and correctly have spring planks. These are TMW part no. 106. In this photo, the car isn’t yet weathered; note the transverse reservoir mounting, typical of Wilson reefers.
Lastly, my model of an Armour car is a repainted Atlas reefer, which was manufactured with an unusual four-hinge side door instead of the more common six-hinge door. The four-hinge door might have been chosen so that the doors could be made to operate. As I have neither need nor interest in operating reefer side doors, I glued them closed and shaved off the oversize hinges.
As far as I know, Armour did not have any four-hinge-door cars, so I simply added two Grandt Line reefer hinges (Grandt part 5168) to each door to make up the difference. The Grandt parts are a good match to the style of the Atlas hinges, and are molded in dark gray, so I simply sprayed them with flat black before installing on the reefer body.
The prototype Armour cars appear to have continued to receive black side hardware (door hinges and latch bars, grab irons, and sill steps) after most other meat car owners had decided to paint the side hardware body color. I simply used a small brush to paint the various details black. The Atlas Vulcan trucks, though not well rendered, do resemble some trucks visible under Armour cars, so I chose to retain them on the model. And here is the car, fairly dirty to represent the appearance of many Armour cars in later years.

This completes my little fleet of four new meat reefers, all of the typical 36- or 37-foot length, and visibly different from the many 41-foot produce reefers, PFE and otherwise, on my layout. As I said at the outset of this thread (see my post at: http://modelingthesp.blogspot.com/2011/02/modeling-meat-reefers.html ), I am one of many modelers waiting eagerly for the new Rapido meat cars (now delayed over two years), but in the meantime, I have these.
Tony Thompson
Hello Tony,
ReplyDeleteI enjoyed reading your blog overall and regarding the reefers in particularly. Ironically, I have the same Life-Like/Varney Swift reefer which I picked up at a flee market several years ago. So now I am in the process of updating it as you describe in your blog. It is my first attempt at detailing a model like this. While I learned a huge amount from reading your blog, I still have a couple beginner-level questions if you don't mind. First, can you further explain the technique used to restore the grooves between boards after removing the molded-on grabirons? Second, my reefer does not have a brake wheel, but rather a lever. From your photos, I think your reefer was the same? Can you comment on what prototype reefers used a lever versus a brake wheel? I am not sure, but I think from reading your blog, you retained the lever on some of your models and replaced it with a wheel on others?.
Thanks
Andy
I repair siding grooves on plastic models with a scriber. It does not have a really sharp point, but includes maybe a 30-degree angle. If yours is too sharp, you might try filing or grinding it to a blunter shape, more like the groove shape on the model.
ReplyDeleteDoubtless a lever hand brake was originally placed on this model car body for economy, since then no separate brake wheel need be provided. It is certainly a prototypical appliance, bun unusual on house cars. I retained it on only one of my cars, which is probably one too many. If I were making a recommendation, I would say "replace it," unless you know your prototype had such an appliance.
Tony Thompson